As promised, here’s how to make a bulletin board.
Materials:
- 1 or more pieces of Homasote (a recycled paper pulp board available at larger hardware stores)
- fabric larger than the Homasote
- scissors to cut fabric
- thin Dacron padding (optional)
- sharp utility knife to cut Homasote (optional)
- staplegun (manual or electric) with staples
- drill (cordless is nice) with bit
- safety glasses
- screws appropriate for your wall, about 1″ or 1.25″ long
- stud finder
- level
- thumb tacks and push pins to hang up your stuff
- washers (optional)
Note: Click any image to see it larger.
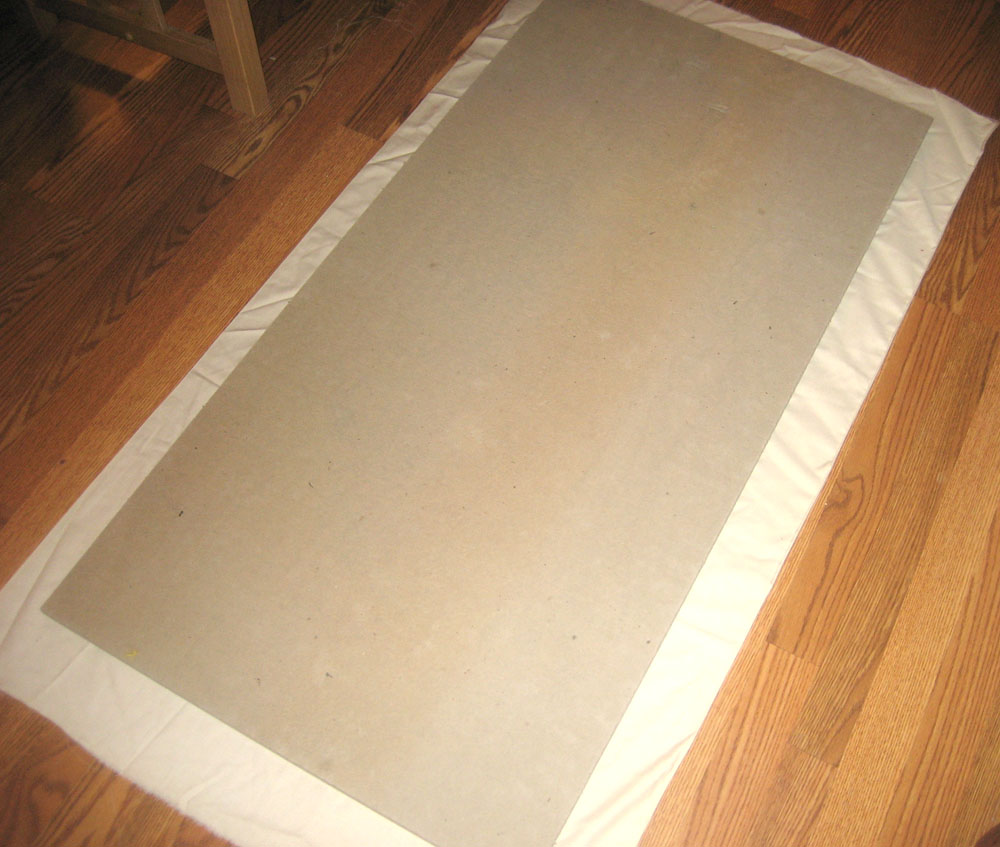
First, cut your board if you like. It comes in 2′ x 4′ pieces, and I decided that would be just fine for me. Use a straight edge and a sharp utility knife, and make sure you have some thick cardboard or something beneath the Homasote so you don’t cut the floor!
 Choose your fabric. I went with a lightweight twill with a light color. You want to make sure your pins can go through it easily — something too heavy is not appropriate.
Then, cut the fabric to size, just a few inches larger all around than the board. Lay it on a flat surface and place the nicer side of the board down on top of it. Make sure it isn’t wrinkled. You might need to iron your cloth first, and if it’s been washed that might be good too. If you are using some Dacron padding, put it between the fabric and the board. It will help the fabric lay more smoothly, but otherwise it isn’t really necessary. You could use a thin quilt batting.
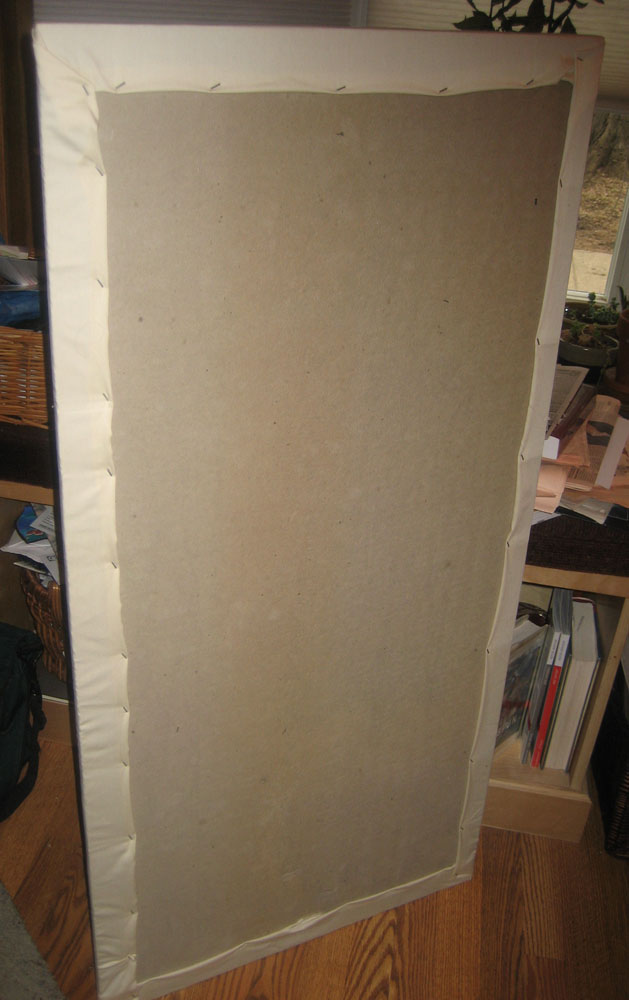 Now staple the fabric to the board using the staple gun. I folded the raw edge of the fabric over first so it would be stronger, and I stapled at an angle to the grain so that the fabric would be less likely to tear. Start at the middle of one long side, work all the way up and down that side, then go to the opposite side. Start at the middle again, and pull nice and tight. It is helpful to lift up the board somewhat as you pull, so you can see how well it is smoothed out. Once those sides are done do the short sides.
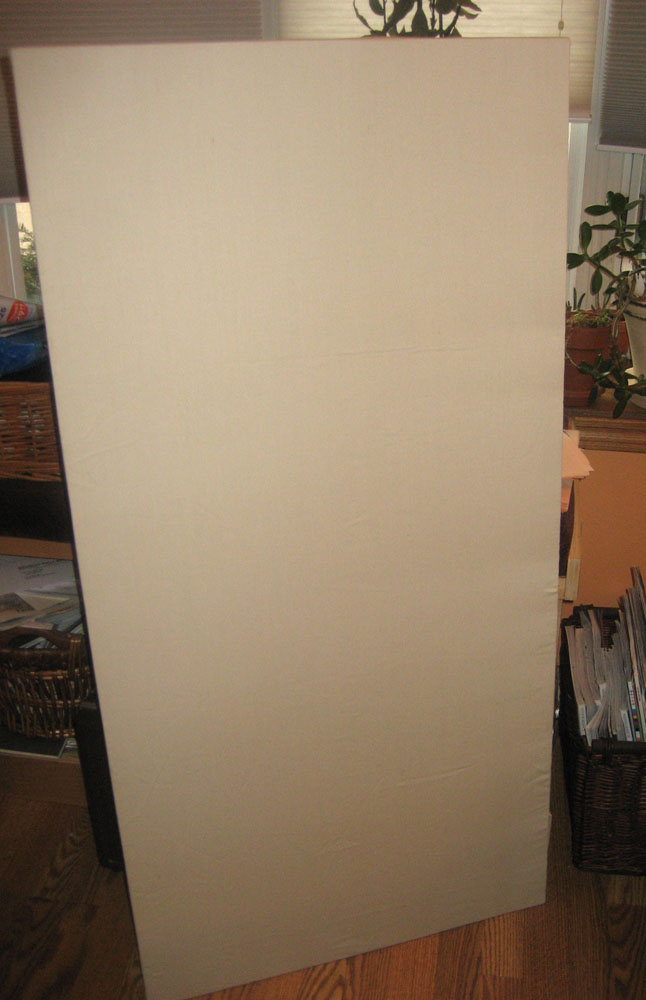 Here’s how it looks. Not too shabby. If you like, you could add a ribbon around the edge, either on the flat surface you see here, or all around the 1/2″ edge. Next, go to the wall where you want to hang it. Use the stud finder to find studs to hang it in. I noticed that if my stud finder starts on a stud when you turn it on, it won’t think there are any studs anywhere. So, it might be helpful to turn it on in various places in the wall if it just doesn’t seem to be working for you. Mark the wall at the place near where the top corner should be, in a way that is either removable or that will be covered by the board. Mark the other top corner with the help of the level.
Mark where the holes in your board should be, keeping in mind the spacing of your wall studs. Cut a small “X” through the fabric on the front (and on the back if the overlap is in this area) or else your drill will twist up the fabric and get stuck. I know this from personal experience!
Next, drill through the corners of your board. Use a drill bit slightly smaller than the screws you’re going to use. I have regular drywall with studs in my wall, so I just chose regular screws that seemed long enough. If you have a plaster, brick, or some other difficult wall, you might need to use Molly screws. Pre-drill holes in your wall if need be.
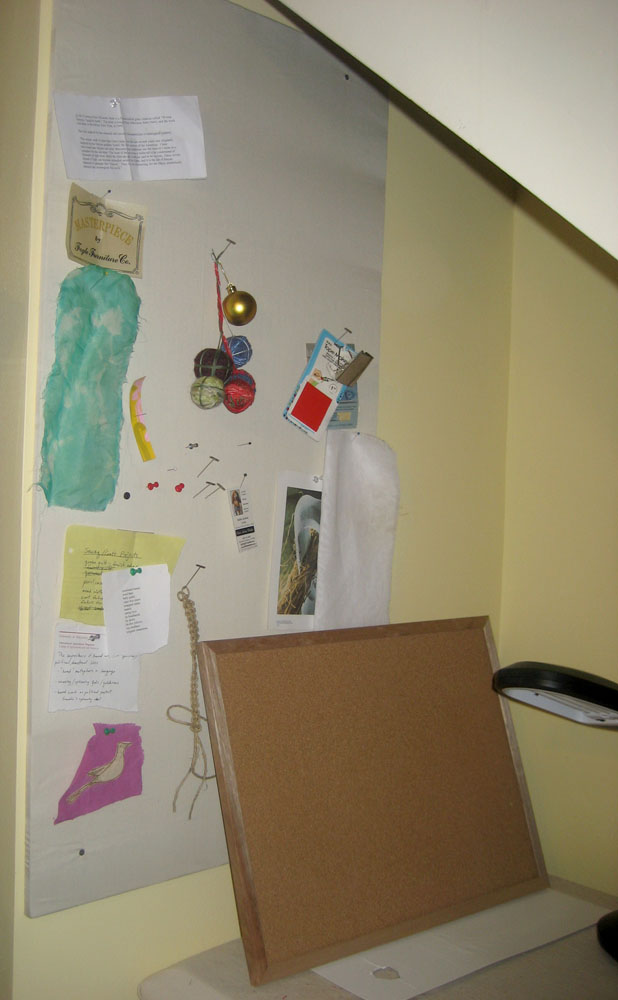 Finally, screw through the board and into the wall, using the marks you made earlier as a guide. If you like, place a small washer between the screw and the front of the board. Here you can see my new board with the one it replaces resting against it.
 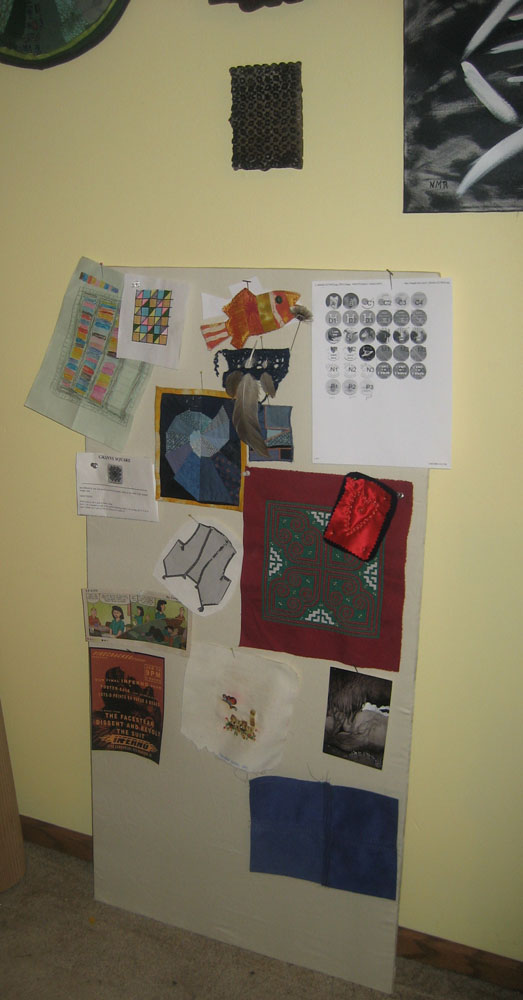 And, since I made 2 (I thought they’d fit side by side in that space… but I didn’t measure first!), the other one is leaning against another wall.
That’s about it! Good luck.
Pingback: Sew,Mama,Sew! Blog » » SMS Tutorial Contest Entries